You type a few sentences into an AI image generator and get a design you love. But when it's printed on a shirt, the image looks blurry, because AI images usually don't have enough pixels to print large. It's a common situation with AI designs, and a few simple checks before you print take care of it. This guide walks you through each step: checking the pixels, preparing the file, catching mistakes in the details, and planning for the product's shape and colors.
Check the pixels first
Most AI image generators, including ChatGPT and Midjourney, make images about 1,000 to 1,500 pixels wide. For most products, Dreamship recommends 300 DPI, which means 300 pixels for every inch of the print, so a typical AI image covers only 3 to 5 inches before it starts to look blurry. Setting 300 DPI in an image editor won't help, because it doesn't add a single pixel.
Here's how many pixels a design needs across to print at 300 DPI, found by multiplying the print width in inches by 300:
| Print width | Pixels needed |
|---|---|
| 4 inches | 1,200 pixels |
| 8 inches | 2,400 pixels |
| 10 inches | 3,000 pixels |
| 12 inches | 3,600 pixels |
| 16 inches | 4,800 pixels |
When your art comes up short, an AI upscaler can fill in the missing detail, so the enlarged image stays sharp instead of turning blurry with visible pixel blocks along the edges, as it does with a standard resize. Dreamship has AI Upscale built into the Designer to make this easy. When the DPI indicator above the design area turns red because the art doesn't have enough pixels for good print quality, you can choose AI Upscale and Dreamship improves the art before production. AI Upscale costs $0.20 per print area and is charged once, on the first order. Later orders that use the same art at the same size reuse the upscaled version at no extra cost.
Create a source file that's big enough, the right shape and the right background from the start
- Download at the highest resolution your image generator offers. Many generators have a higher resolution or upscale option before you download. AI Upscale can enlarge art up to 4 times both horizontally and vertically, so the bigger your starting file, the further it goes. For example, a file 1,000 pixels wide can go up to 4,000 pixels, enough to print about 13 inches wide at 300 DPI, and a 1,500 pixel file can reach 6,000 pixels, enough for 20 inches.
- Match the shape of the print area. A poster is tall, a mug wrap is wide and a pillow is square. Export the file in the same shape, portrait, landscape or square, so you don't have to crop away important details when you place the design in the print area.
- Ask the AI tool for a transparent background on shirt designs. That way the shirt shows only the artwork, with no white or colored box around it. If the file comes back with a white background, or a fake gray and white checkerboard drawn into the image (it looks transparent, but it's real pixels and the checkerboard will print), remove it with a background remover before you upload.
- Keep text short, or add it yourself. AI still misspells words and bends letters. Short phrases are easier to check, and text you add in a design editor stays crisp at any size.
Check the details AI gets wrong
Before you publish, zoom in to 100% and look over the whole design. AI art often has small mistakes that are easy to miss on a phone and easy to spot on a printed product:
- Misspelled or warped letters
- Extra fingers, odd hands or eyes that don't match
- Stray marks, smudges or half-drawn objects near the edges
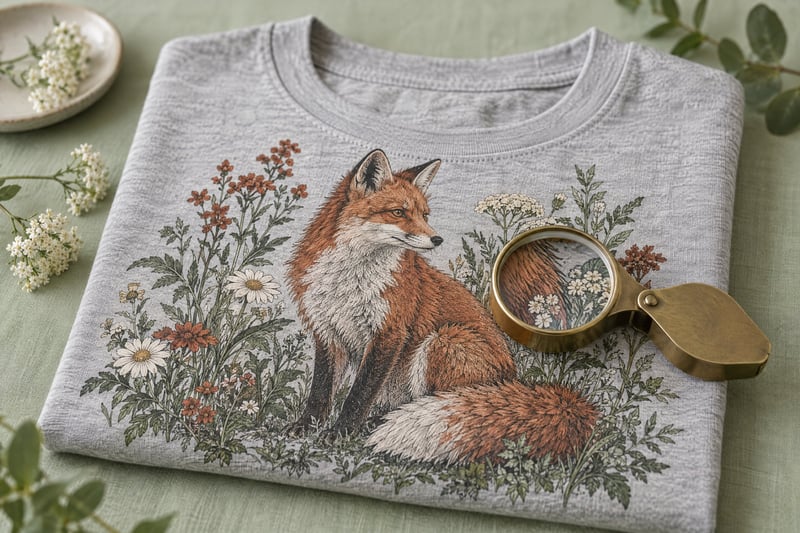
- Spots that fade into a blur where the AI wasn't sure what to draw, often hair, fur, leaves or small background details
- A faint white halo around the design after you remove the background, which shows clearly on dark shirts
Place the design to fit the product's shape so no important detail is lost
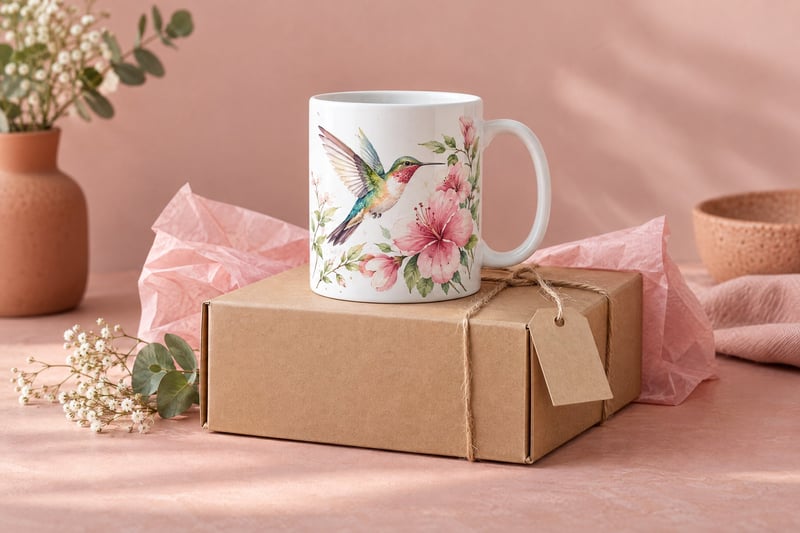
Your design may look flat on screen, but once it's printed on a product it can curve or fold with the surface. Mug designs wrap around toward the handle, canvas wraps fold around the frame, and some products trim a little off the edges, usually all-over prints, where the edge of the design is left extra to be cut after printing. Keep the important parts, like faces and text, away from the edges of the print area.
The Dreamship Designer shows you each product's print area, and the mockups Dreamship makes from your print file show how the product will really look. If you make products with ChatGPT or Claude through the Dreamship connector, your assistant gets guidance for each print area on what the product cuts off, wraps or hides. When your art is too small, it may ask whether to turn on AI Upscale.
Order a sample to see the real printed color before you sell
When you make a design with AI, you only ever see its colors on a screen, never in print. A screen is lit from inside, so colors look bright and vivid, while a printer creates color with ink on materials like fabric, ceramic or paper, so the same color usually prints a little duller. The difference is easiest to see in neon and other very bright colors. So if color is a key part of the design, like your shop's signature color, order a sample to see the real color on the product before you launch a whole collection.
Checklist: check the quality of your AI design before you publish
Answer these 5 questions for each AI design before you publish it, so the print comes out sharp, with the right background and no lost details, when the product is printed and shipped to your buyer.
- Does the file have at least 300 pixels for every inch it prints? If not, turn on AI Upscale.
- Is the background right: transparent for most apparel, full color covering the whole print area for posters and canvas?
- Have you zoomed in and checked every letter, hand and edge?
- Are faces and text clear of the edges of the print area?
- Does the mockup look the way you want buyers to see it?
Curious how your art holds up? Create a free Dreamship account, add your design in the Designer and watch the DPI indicator. If it turns red, a click on AI Upscale takes care of it.