Embarking on your print-on-demand (POD) journey is filled with excitement and potential. Yet, for many newbie POD sellers, the path from initial idea to finished product can seem overwhelming, particularly when it comes to designing unique and appealing products.
This guide is here to simplify the process, providing clear insights into graphic design principles, practical steps to create your designs, tips for finding inspiration, and recommendations for the best tools to bring your ideas to life. By the end of this blog, you’ll have the knowledge to craft compelling print-on-demand designs that captivate your audience and boost your sales.
Basic Principles for Creating Graphics for Print-on-Demand
Before diving into the design process, it’s essential to understand some basic principles that will help you create professional and appealing graphics for your print-on-demand products.
1. Understand Your Audience
Understanding your target audience is the cornerstone of successful design. Conduct research to identify their preferences, interests, and the current trends within your niche. This knowledge will help you tailor your designs to resonate with potential buyers, increasing the likelihood of your products being purchased.
2. Keep It Simple
Simplicity often triumphs in design. Overly complex designs can be distracting and hard to print effectively. Focus on creating clean, easily recognizable graphics that convey your message quickly. Simple designs not only look professional but are also easier to reproduce accurately on various products.
3. Ensure High Resolution
Always use high-resolution images to ensure your designs look sharp and professional on printed products. Low-resolution images can appear pixelated and unprofessional, negatively impacting your brand’s image. Aim for at least 300 DPI (dots per inch) for print-ready graphics.
4. Consider Color Theory
Colors play a significant role in design. Understanding color theory can help you create visually appealing designs that evoke the right emotions. Use contrasting colors to make your text and elements stand out, and ensure that your color choices align with your brand identity and appeal to your target audience.
Steps to Create Designs
Now that you understand the basic principles, let’s dive into the practical steps of creating your designs. Whether you choose to do it yourself or hire a freelancer, following these steps will ensure a smooth and effective design process.
Step 1: Brainstorm and Research Ideas
Begin by brainstorming and sketching your ideas. Look for inspiration from competitors, social media, and online design communities. Identify popular themes and styles within your niche to ensure your designs align with market trends.
Step 2: Choose Your Design Approach
Decide whether you want to create the designs yourself or hire a freelance designer. If you prefer a hands-on approach and enjoy the creative process, DIY is a great option. If you lack design skills or prefer to focus on other aspects of your business, hiring a freelancer might be more suitable.
Step 3: Select the Right Design Tool
Choose a design tool that suits your skill level and needs. Canva is user-friendly and offers a wide range of templates, making it ideal for beginners. Adobe Photoshop provides advanced features for more detailed work. Other tools like Kittl and Placeit can also be useful depending on your design needs.
Step 4: Create Your Design
Start creating your design by selecting the appropriate dimensions for your product. To ensure your design fits perfectly, download Dreamship Product Template in Dreamship app which provides the correct size and element positions. This template will help you maintain consistency and accuracy in your designs.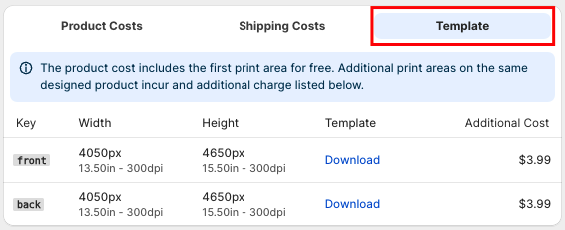
Use layers to keep your elements organized and editable. Focus on simplicity, ensuring your design is clean and visually appealing. Continuously refine your design, adjusting elements like alignment, spacing, and color balance.
Step 5: Refine and Edit
After creating your initial design, take the time to refine and edit it. Pay attention to details, ensuring everything is aligned correctly and the colors are balanced. Make necessary adjustments to enhance the overall look and feel of your design.
Step 6: Save and Export
Once you are satisfied with your design, save it in the required format. PNG is often preferred for its high quality and transparency options. Ensure your design is saved at a high resolution to maintain its quality when printed on products.
How to Find Design Ideas
Finding inspiration for your designs can be one of the most challenging parts of the process. However, there are several methods to spark creativity and generate ideas.
Hand-Crafted Designs: Basic Text with Creative Fonts
One of the simplest yet most effective ways to create eye-catching designs is through text-based graphics. Using creative fonts, you can turn basic text into a compelling design. Experiment with different typography, font sizes, and colors to see what works best for your product. Websites like Google Fonts and Font Squirrel offer a plethora of free fonts to get you started.
Buy Pre-Made Designs
If designing isn’t your forte, consider purchasing pre-made designs. Websites like Creative Market, Design Bundles, and Etsy offer thousands of unique designs created by professional designers. This can be a quick and cost-effective way to populate your store with high-quality designs.
Use AI to Generate Designs
Incorporating AI into your design process can save time and spark creativity. Tools like ChatGPT can help generate text-based design ideas or suggest themes. Canva’s AI-powered design tools can assist in creating stunning graphics with minimal effort. Similarly, Adobe Spark offers AI-driven design suggestions tailored to your needs.
Some Suggestions for Design Software and Tools
Having the right tools at your disposal can make the design process more efficient and enjoyable. Here are some of the best tools for creating print-on-demand designs.
Canva
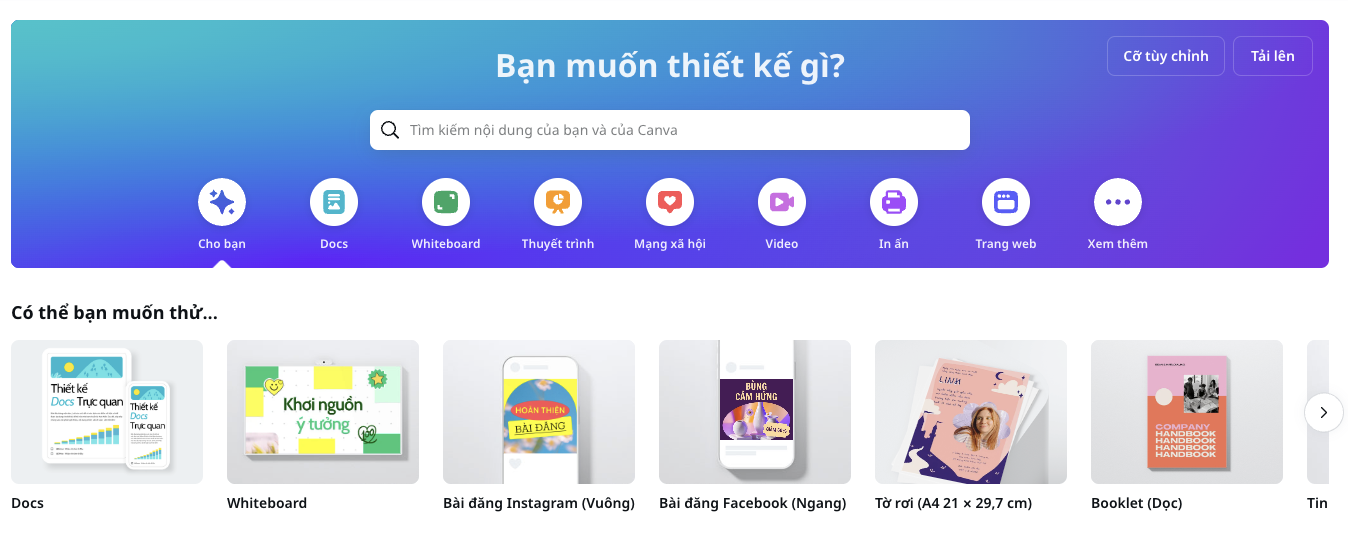
Canva is a popular choice for POD sellers due to its user-friendly interface and extensive library of templates, fonts, and graphics. It’s ideal for creating both simple and complex designs.
Placeit
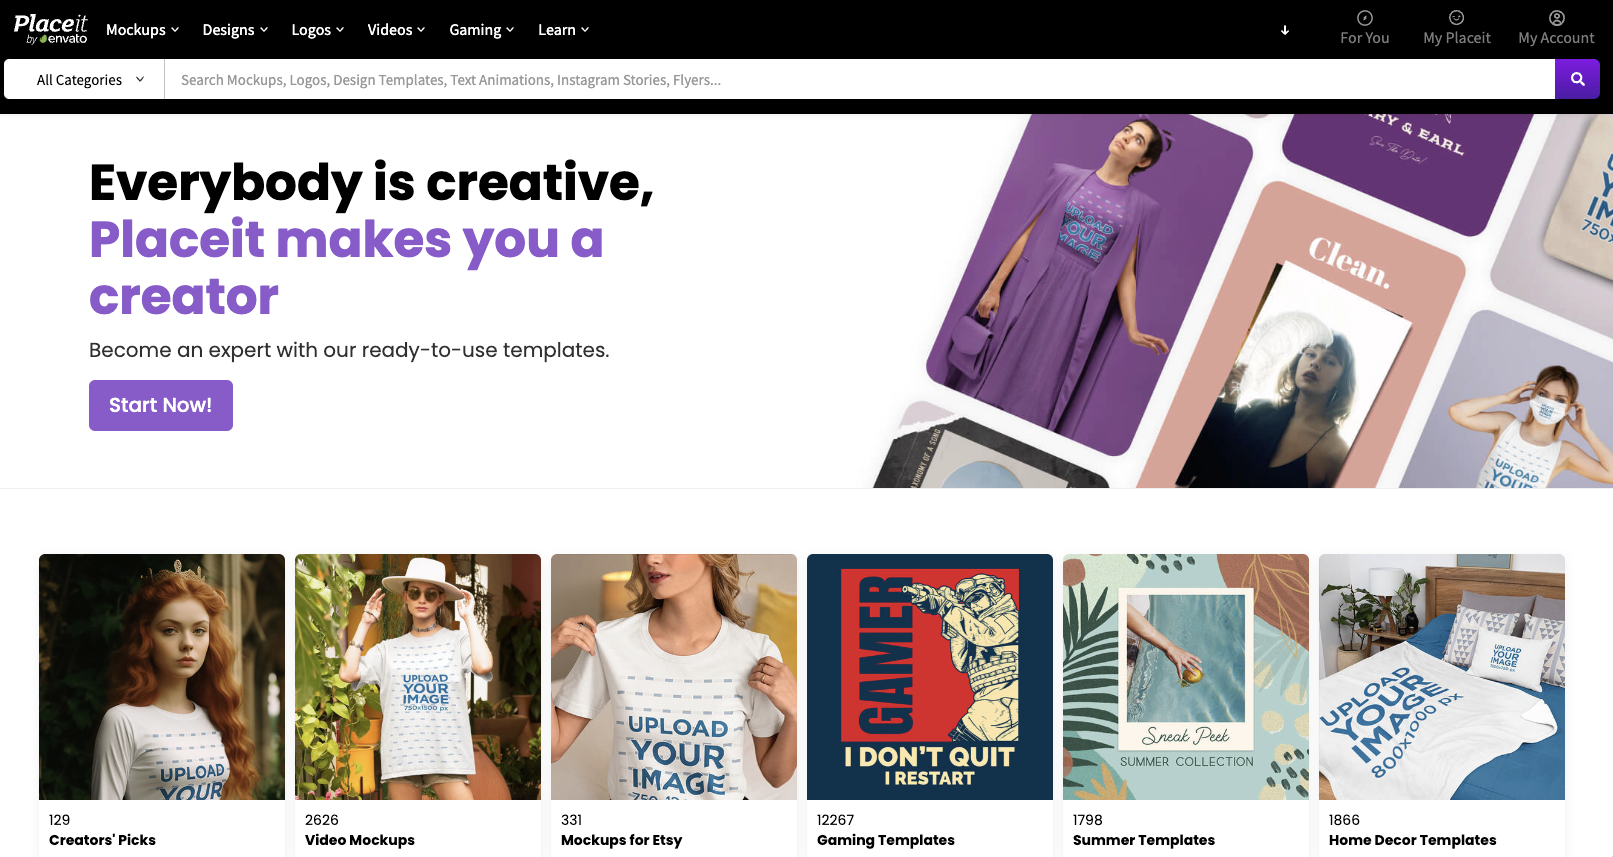
Placeit offers an array of mockup templates that can help visualize your designs on various products. It’s particularly useful for creating realistic product images to showcase in your store.
Adobe Photoshop
Adobe Photoshop is the industry standard for graphic design. It offers advanced tools and features for creating highly detailed and professional designs. While it has a steeper learning curve, the results are worth the effort.
Unsplash
Unsplash provides high-quality, royalty-free images that can be used as backgrounds or elements in your designs. It’s an excellent resource for finding stunning visuals to enhance your products.

Kittl
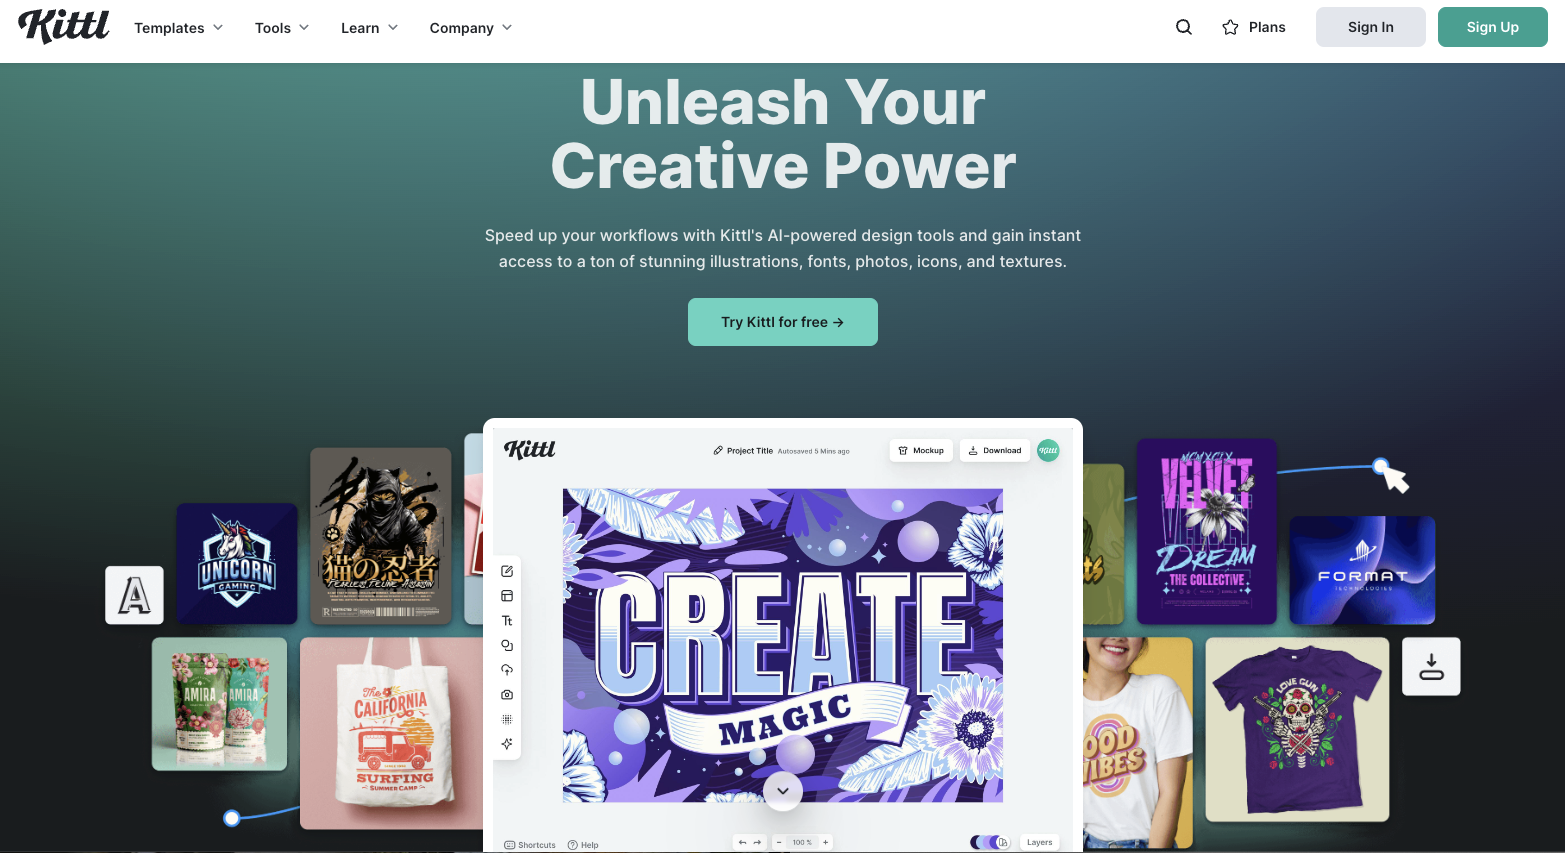
Kittl is another powerful design tool tailored for creating intricate designs and illustrations. It offers features that cater specifically to POD sellers, making the design process more efficient and effective.
Conclusion
Entering the world of print-on-demand as a new seller requires creativity, an understanding of basic design principles, and the right tools. Whether you choose to design your own products, buy pre-made designs, or hire a freelancer, it’s important to keep experimenting and refining your approach.
By applying these suggestions and leveraging the recommended tools, you’ll be well-equipped to create captivating and marketable print-on-demand products.
For more detailed guides, tools, and support, check out the following Dreamship resources:
Dreamship Fanpage | Dreamship Help Center | Dreamship Catalog | Platform Integration
